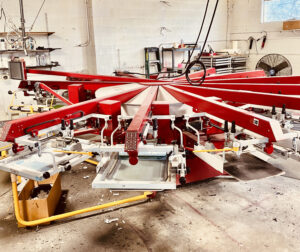
Screen printing is a centuries-old method to transfer images on to surfaces. It has come a long way throughout its history evolving to match the current technologies available. We have several industrial automatic presses, as well a few old school manual presses, in the workshop. During the screen printing process, ink is transferred through a mesh screen onto a surface (your garment!).

After your art has been rendered by our art department to work with one of the screen printing processes we use, our skilled staff gets to work in Porkchop workshop…
Creating the screens
Each color in your design requires a separate print. We ‘burn’ your design, using a stencil for each color, on to a screen coated with emulsion using a high power light table. To create a multicolor design, more than one screen is created. After burning, emulsion is washed from the screen and dried before setting up the print job.
Setting up the press
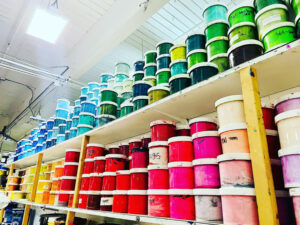
We then set up the screens on the screen printing press. Depending on the total colors in your design, this part of the process can be very time consuming. Everything needs to be perfectly lined up to create a multicolor design. Ink is hand mixed in the workshop to produce a match for the art provided and applied to the the screens mounted on the press.
Loading the garments
Each garment is positioned by hand on to pallets attached to a carousel that spins around the press. Laser guides are used to ensure design placement is correct during the hand loading process.
Printing each color and shirt one by one
The press then rotates the garments loaded on the pallets in sequence to a single color at a time. Pressure from the squeegee pushes ink through the design on the mesh screen to the surface of the garment below.
Curing the ink
A high heat ‘flash’ may be used to cure ink between colors. The garment is then carefully hand pulled from the press (the ink can smear before being fully cured!) and run through an industrial dryer with temperatures that can be over 350 degrees. A ‘catcher’ grabs your items after running down the conveyor belt dryer and everything is organised for your pick up or shipment.
All done!
After your job has been broken down and taken off of the press, we reclaim the screens for reuse on other projects. Your art files are saved for future print jobs on film or in digital files.
As you can see, screen printing is not an exact science and is manually created step by step. It is truly a hands on art form!
Custom Screen Printing Methods we might use for your project
Depending if DTG or traditional screen printing will suit your needs best, will pick the best printing process for you based on the shirt color and graphic provided by you! Request a quote today!
COMPANY INFORMATION
Mike Digregorio is the sole owner of Porkchop LLC
Rachel Lush is the General Manager


